Welcome to this workflow tutorial for texture painting in Blender. The motivation for this tutorial was to have a quick and structured recap of how you can do texture painting in Blender. There might by other ways, but this is one which works for us. This tutorial will not cover basic steps in Blender. You should know how to add objects and materials in Blender.
- Blender Version: 2.76
- Renderer: Blender Internal (Blender Render)
- Tutorial Diffuculty: Medium
Preparations for Texture Painting in Blender
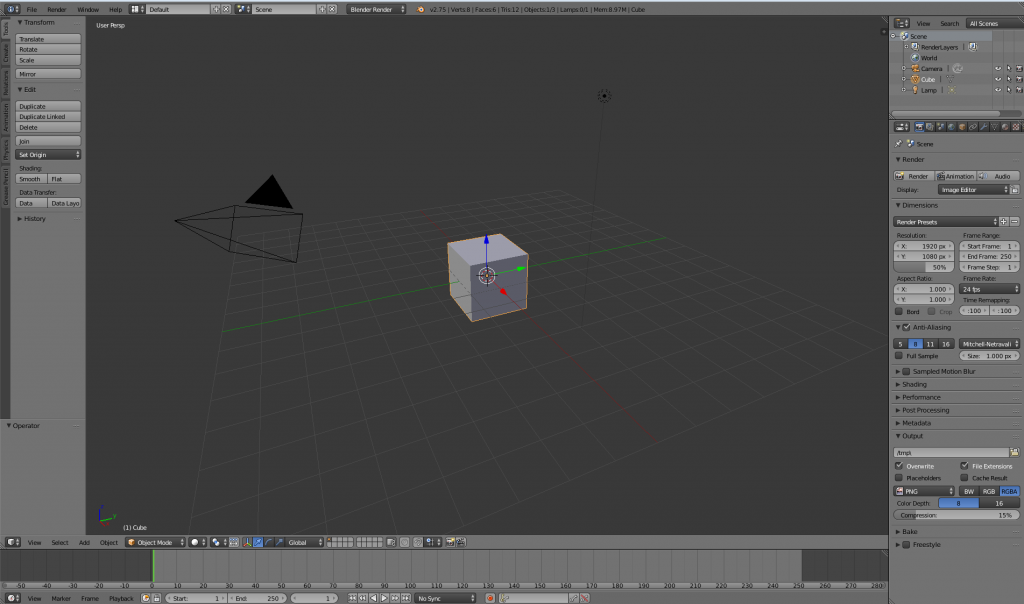
We will start with a new project. This will make sure that we use the default settings.
Select Blender Render as renderer at the top.
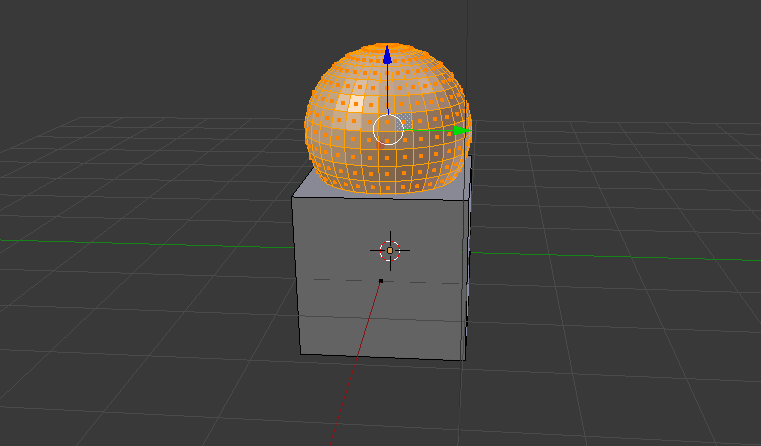
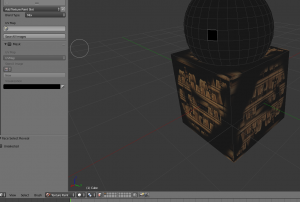
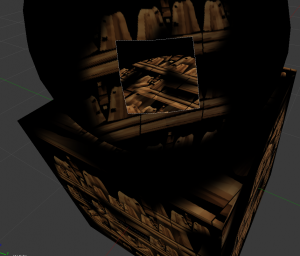
Switch to Editmode [tab] and add a sphere [ctrl + a] and place it above the cube. Let both objects intersect like in the image below. It is important to add the sphere in Editmode and not in Objectmode!
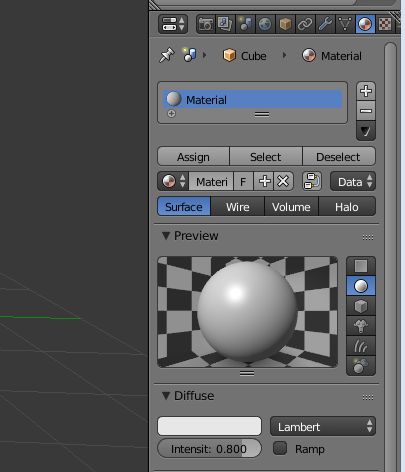
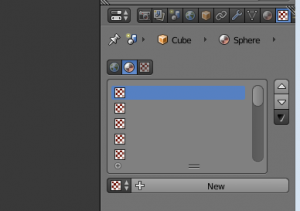
Go to the material tab on the right side and add an additional material.
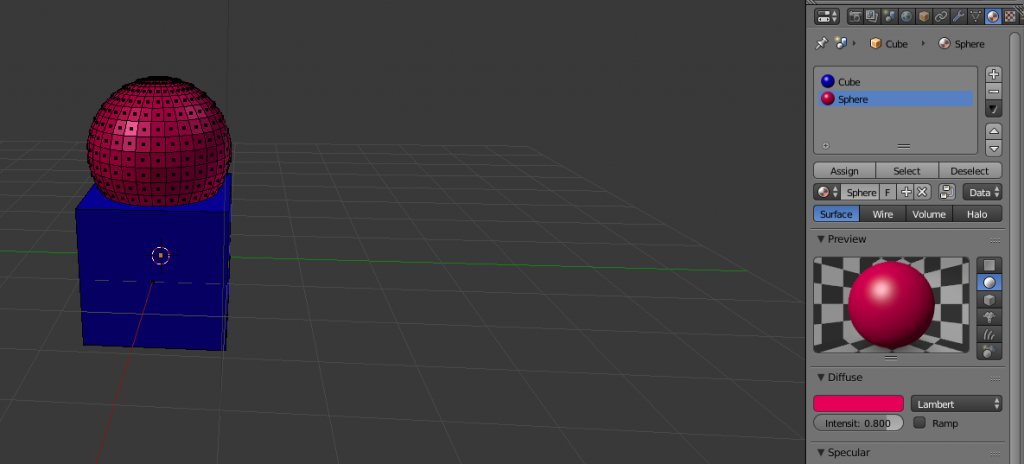
For a good workflow rename both materials to something appropriate like “Cube” and “Sphere”. Different colors for the materials will also help you to keep the overview. Now select the sphere and assign the new material to the sphere. You should now have something like in the image below.
In the next step select the cube (you can use the material select button) and unwrap it [u]. Repeat the unwrapping process for the sphere.
The preparation for texture painting in Blender is finished here. In the next part we will go into the details of texture painting.
[nextpage title=”Next Page”]
Details of texture painting in Blender
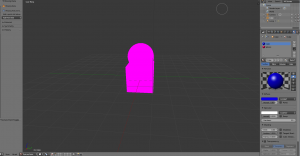
Now switch to texture paint mode
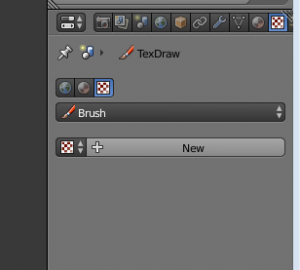
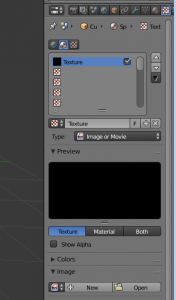
now go to the texture tab again and switch the mode from material textures to other textures and hit new
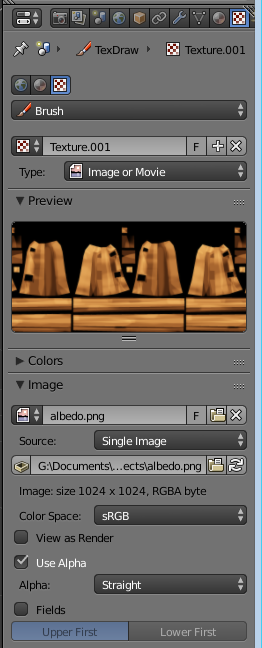
select the texture you want to paint on the model
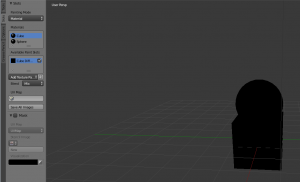
now we will fokus on the left side. Switch to “slots”
add a texture paint slot for each material by hitting the dropdown
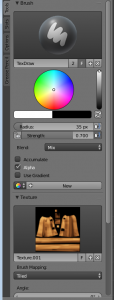
set up your brush settings as you like in the tab for texture select your texture you like to paint on the model
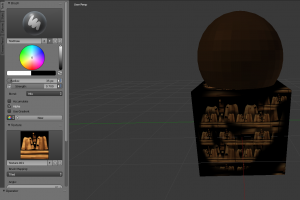
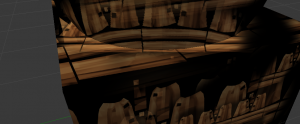
now you can start drawing on the cube and the sphere with your brush.
the brush will paint on both object simulaniously
if you want to hide the sphere or pats of it to paint on your cube.
Enter the face selection mode for masiking.
Now you can select face you want to hite and press h to hide them
alt +h will bring them back.
If you have made your selection and the rights parts are hidden press a to reselect all part so you can paint on it again.
Do not leave the mode
next will be bake tut
Old:
switch to textures and make sure the new material is selected.
click the new button
it should look like this

